
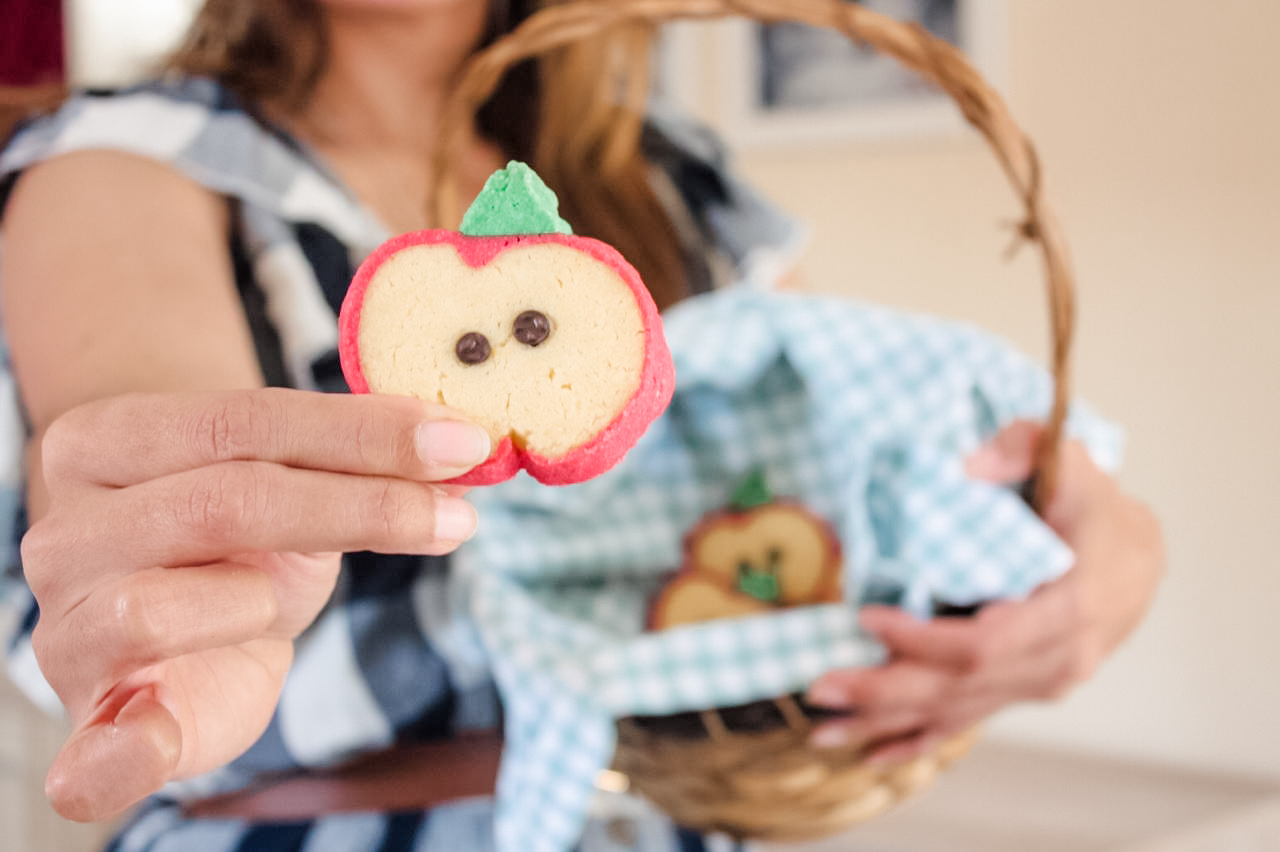
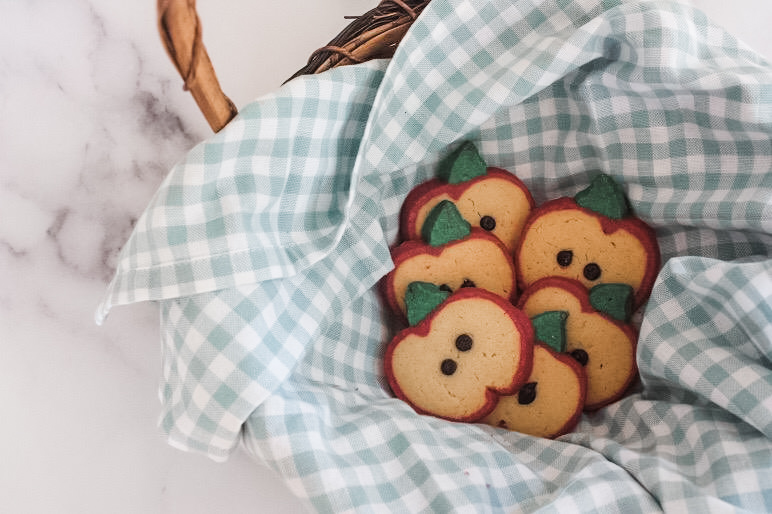
Guys, for those who’ve stuck around with me after all these years, I think by now you’d know that when I say “cookies are my jam”, I MEAN IT! I love making them, I love trying new FUN recipes, I love different cookie concepts, and I certainly LOVE consuming them! So its safe to say that we always have some home-made cookies ready to go in our home. And these Apple Cookies are my latest favourite thing to make!
The colours, the shape, the ease – just all of it – have my cookie loving soul dancing. And trust me they ARE easier to make than you think. And what’s nice is that using this method you can keep some and save for later. They are perfect for school themed parties, teacher gifts, picnics, or just because. Now because of the nature of this, I had to put a video together for it, as its easier to SHOW you how than to describe how.

Keep in mind, with lockdown my time is pretty limited, so a few of the scenes in this video is done in poor light – bare with me! 🙂 (Also, the first minute was recorded in portrait not landscape – such a rookie mistake – but the rest of video is fine – so please be cool with me! 🙂 )
The Ingredients and Recipe:
I used my trusty Vanilla Almond Cookie recipe from years back. Its my go-to for any special or intricately designed cookies because it holds its shape quite well and is a forgiving recipe that you just cant flop! See the recipe here.
Method:
Its best to watch the video below, as you’ll need a visual to better understand how to shape the slice n bake apple cookies.
As for slice and bake, this is a method that I’ve been obsessed with since 2000 when I discovered Pilsbury Slice n Bake christmas cookies in the stores in USA. And have since been trying to make my own, as South Africa never really had them here. But now you can make your own! (and a very fancy one at that!)
For those who still prefer wording over the visual, here you go! 😉
-
1. Once you’ve made your dough using the recipe from above link, divide dough into 3:
-
– Less than 1/4 of the dough (for the red apple skin)
– About 2 tablespoons or less (for the green stalk)
– The remaining dough (for the flesh of the apple)
2. colour your dough accordingly.
-
– Red for the 1/4 piece (I add a tiny smidgen of black to the red to give it more depth)
– Green for the 2 tablespoons (green to make it look like an apple stalk leaf)
Don’t colour the flesh of the apple.
3. Roll dough:
-
– Roll the flesh of the apple into an even tube shape.
– roll the red skin of apple into flat disk, long and wide enough to be able to cover the tube shape you previously made.
– Roll the green into a long finger like tube, then shape the finger tube into a small prism tube.
4. Freeze these dough shapes for about 40 min – 1 hour – just so that it will keep its shape when you work with it.
5. Remove large flesh coloured tube and carve out a v- shaped valley ontop of the tube, all along its length. Then directly opposite that v, on the underside, carve a smaller v shaped valley too. As shown in the video. Freeze for another 15 minutes or so, while you remove the red skin dough from freezer, and let it rest on counter to get to almost room temperature.
6. Then remove apple flesh coloured dough tube from freezer, place in centre of red skin dough, and roll the red dough tightly up against the apple flesh dough, making sure there are no spaces. Ensure skin is firmly pressed into the v-shaped valleys too, using the method shown in video.
7. As usual, wrap that up into cling wrap and freeze that for a bit while you remove the green prism shaped tube of dough to let it come to almost room temperature.
8. Reheat oven to 170′ C. Then remove the shaped dough from freezer, and press the green prism shaped dough tube lengthwise into the top of the “apple” (press it into the larger upper v-shaped valley). This forms the apple stalk leaf. I like to push my stalk leaf to the one side, but you don’t have to.
9. Roll it all up into cling wrap as usual, and freeze for 2 hours. Thereafter, slice it into less than 1cm wide slices. Place on baking sheet.
10. Use 2 choc chips per cookie, and press it (smooth side facing up) into middle of cookie to form the seeds/pips of apple.
11. Bake for 10 to 12 min. Remove from oven and let cool. (especially dont dont touch choc chips until it cools) And ENJOY!!

Just few tips:
-
1. Freezing and cooling of the dough in between is what will take the most time. The actual shaping of the apple is quick. So be patient with the process.
2. Especially the final freezing (once you’ve shaped it completely), you’ll need that dough to be frozen firmly into shape just enough to make it that you’ll cut it without warping the shape. (which is what will happen if you try to cut it at room temperature). But not solidly frozen either, else it will crack.
I froze mine overnight, so the next day I left it out for 15 minutes before I tried slicing it.
3. When slicing it, use a sharp knife dipped in hot water, and make sure the blade is clear of dough every few slices, so as to make cleaner cuts.
Would love to see your creations! Feel free to tag me on Instagram! My handle is @traxgport